
I’ve spent a lot of time looking over my finished mini quilt. I needed to figure out how to fix the mistakes I made. My main focus is the misalignment of the rows. My lines are straight, but it doesn’t matter if they don’t fit together correctly.
After looking back over all of my steps I think I have it narrowed down to two issues. The first was that I accidentally switched between a 1/4″ seam and a scant 1/4″ seam. I was using my Ideal Seam Gauge to set the seam and I was halfway through before I realized I hadn’t been being consistent. By then it was too late to fix but I was hoping it wouldn’t make that much of a difference. I was wrong.
The second issue was that when I did the half square triangles and I trimmed them up I didn’t take the time to measure them and make sure they were all the same size. It was a big oversight on my part, but I’m hoping I can do better on my next project.
And speaking of my next project. I decided to try another mini quilt. I was tempted to get the same pattern again to see if I could correct my mistakes, but I decided to go with a different pattern that also uses the half square triangle. That way I end up with a new project but I will know that I’ve gotten better with the triangle when it’s all said and done. Plus, I love the color scheme of this new one.
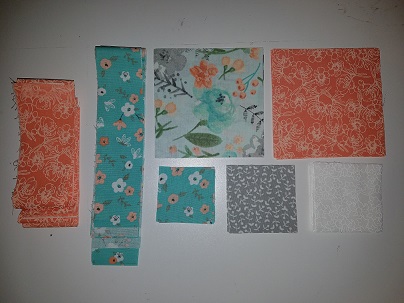
Cutting out the pieces was easier this time around. I’ll be using a few larger squares this time so I didn’t have to cut as many, but I did have to do more strips which are harder to keep consistent.
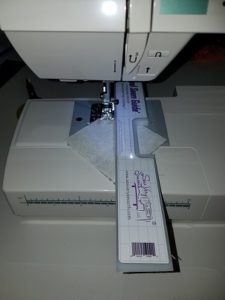 With the first quilt I didn’t realize I could use the Ideal Seam Guide with the half square triangle but it turns out you can! You just have to put the guide on top of the fabric the same way I did when I used it for the quilting stitches on my last project.
The finished product had lines and perfect 1/4″ seams, which is a great step in having my rows line up correctly this time.
Once I cut my squares and pressed the seams it was time to square them up.
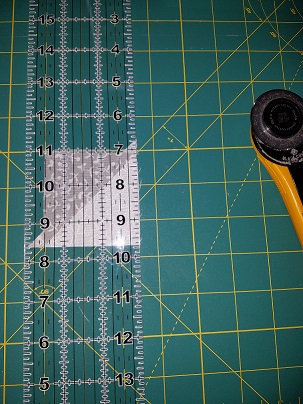
I feel kind of silly that last time I didn’t utilize the angled guide on my self healing mat. I didn’t realize it was there until I had all but three squares trimmed. This time I made sure to use it and measured to make sure each square made the required 2 1/2″ x 2 1/2″ measurements.
They already look so much better than they did last time around. I am really excited to start sewing them all together to show how well they fit together.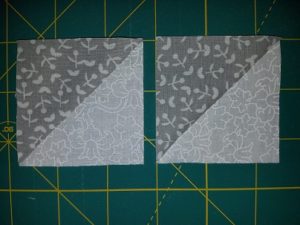
Does anyone have any other suggestions on how to do better? I know you only get to see the pictures which aren’t the same thing, but I would sure appreciate knowing if you had any thoughts when viewing the pictures. Perhaps you thought something like, “She should have done this instead.” Or maybe, “I wouldn’t have done that.” It’s helpful to have any guidance you can give. I’ll take feedback on any part of the process, not just these half square triangles.

Recent Comments